 →
→ 

How to Make Fresh Homemade Pita Bread
 By Alexandra Stafford
—
Last Updated: 11/15/2025
By Alexandra Stafford
—
Last Updated: 11/15/2025
This post may contain affiliate links. Please read my disclosure policy.
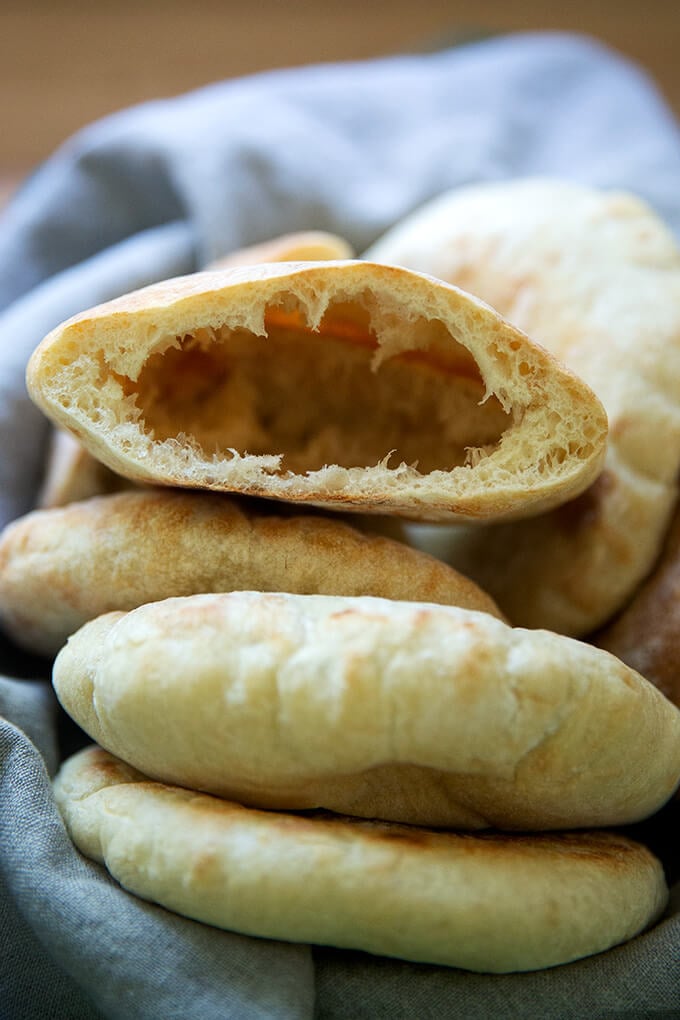
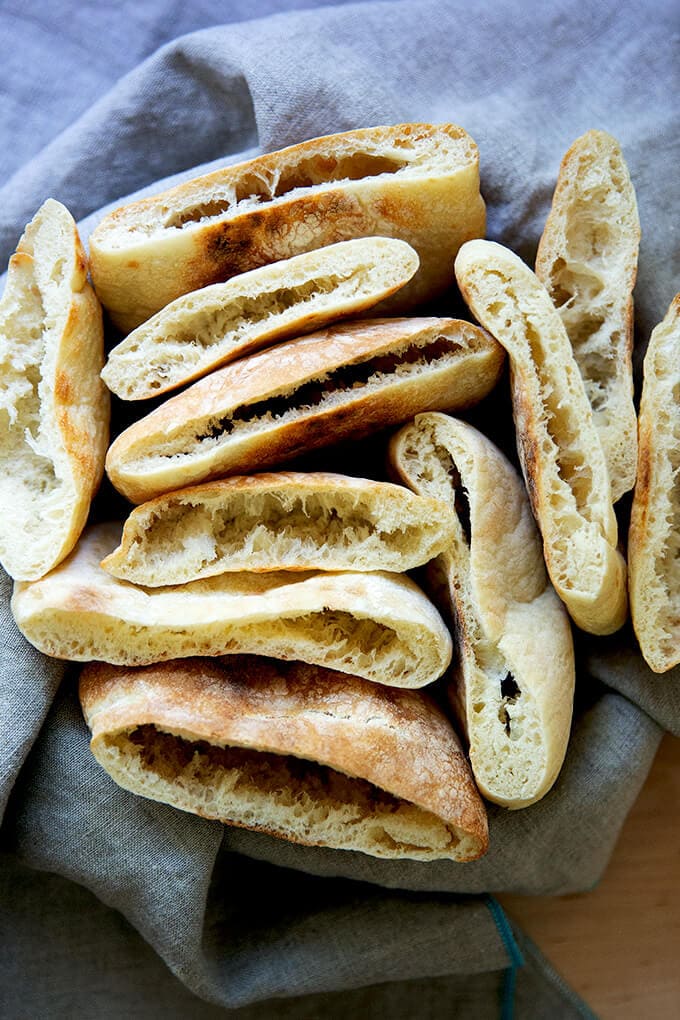
Making fresh pita bread at home couldn’t be easier. This recipe uses instant yeast and requires no kneading or complicated shaping. The pita rounds balloon into perfect pockets in 2 minutes in the oven. Read on to learn three tips for success!
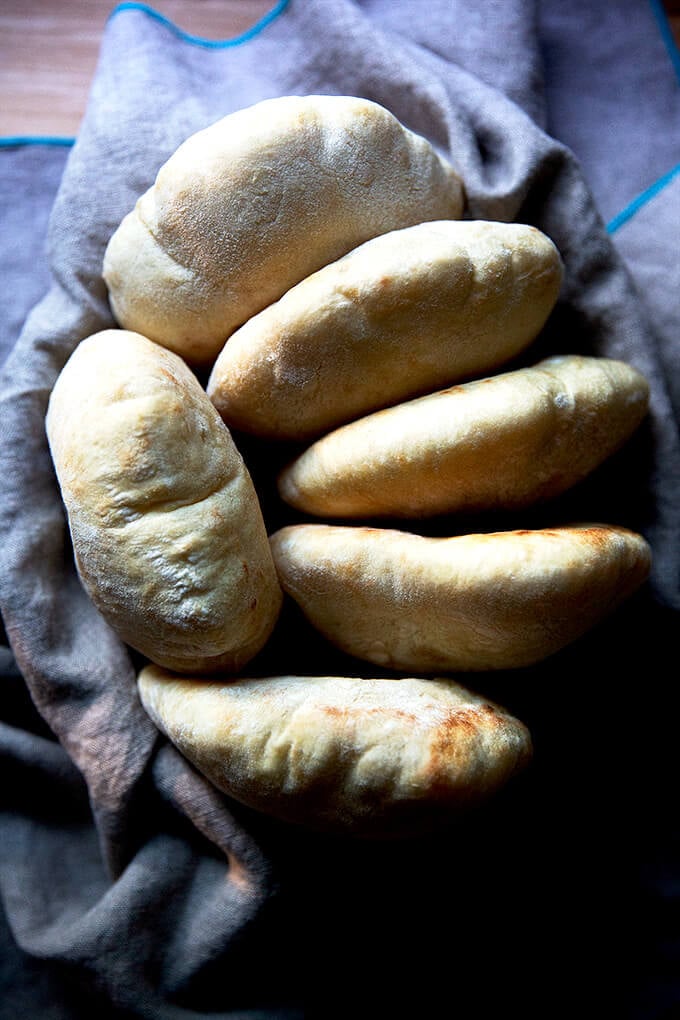
Making pita requires neither kneading nor complicated shaping. It’s one of the easiest bread recipes you could make, in fact, right up there with no-knead focaccia and homemade pizza dough. The recipe below is essentially a half recipe of my mother’s peasant bread recipe with the sugar omitted, the hydration lowered, and the addition of a small amount of olive oil.
And while the overall process is simple, there are a few keys to success:
The Secret to Getting Pita to Puff in the Oven?
- Handle the dough gently during the rolling process. When you roll, use a gentle hand so that you don’t deflate all of the air bubbles created while the dough was rising.
- Allow the dough to rest. After rolling out your rounds, let them rest for 15 minutes, which will allow the dough to recover — it allows the gluten to relax — from the rolling process, which in turn will allow them to puff back up again slightly before baking.
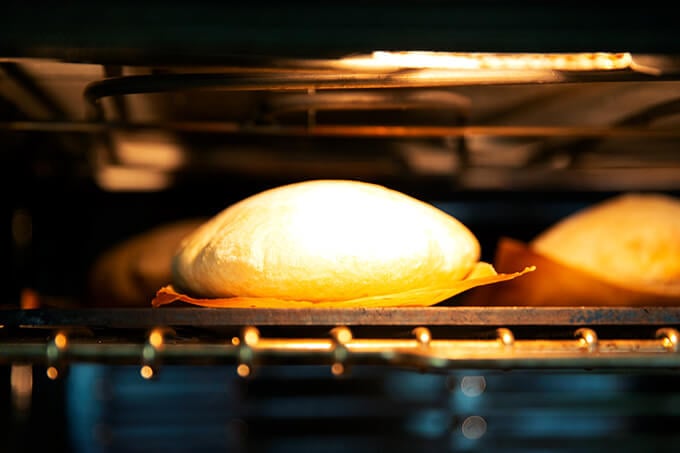
- Cook the pita on a hot surface. If you have a Baking Steel or pizza stone, cook your pita on it: as soon as the pita meets the hot surface, the heat will quickly transfer to the dough, making it instantly spring:
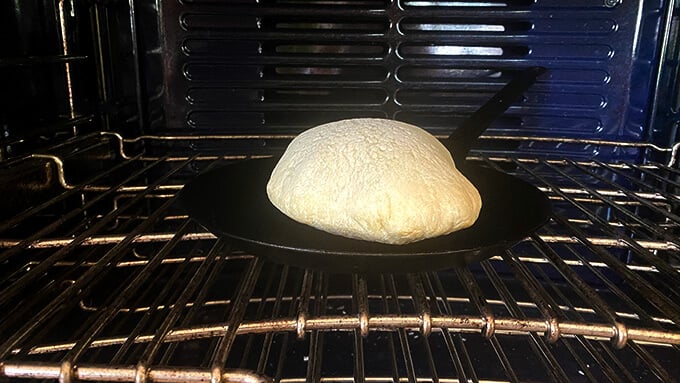
If you don’t have a Baking Steel or pizza stone, you can use a preheated cast iron or other oven-safe skillet (see recipe box for details):
Or you can use a preheated sheet pan (see recipe box for details):
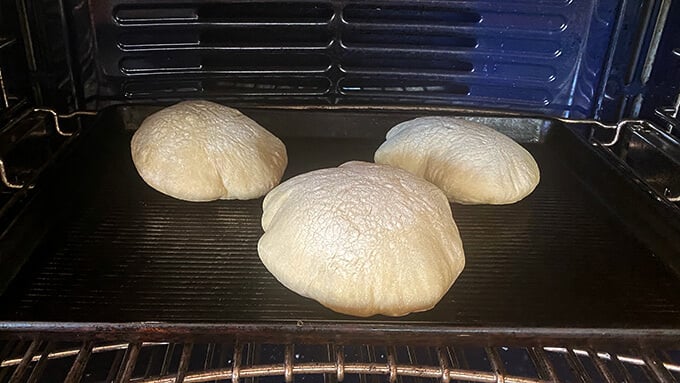
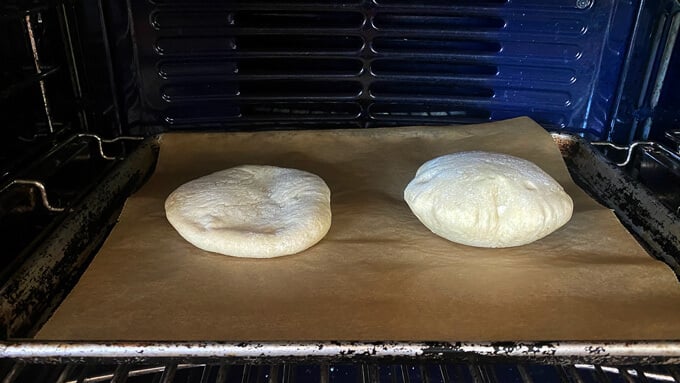
A non-preheated sheet pan will not work as effectively, see below: one pita puffed, one did not:
PS: Simple Homemade Naan (5 Ingredients)
How to Make Pita Bread, Step by Step
Gather your ingredients: flour, salt, instant yeast, water, and olive oil. As always, for best results, use a digital scale to measure.
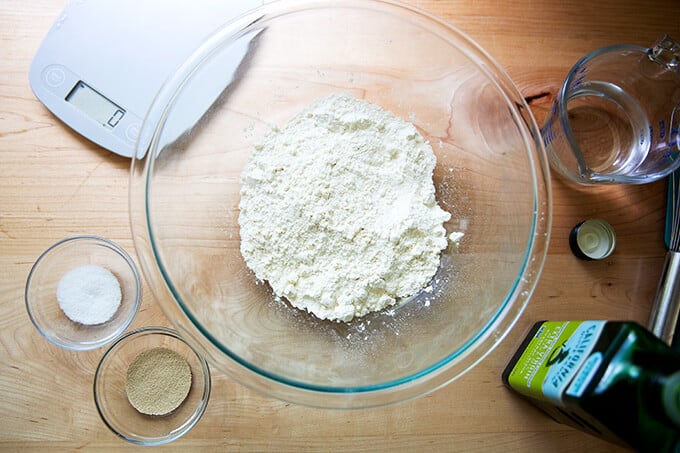
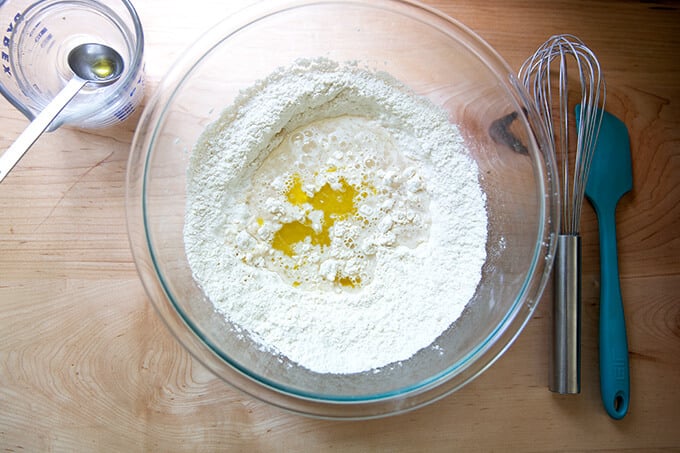
Whisk together the flour, salt, and instant yeast. Add the water and olive oil.
Mix with a spatula until you have a shaggy dough — mixture will feel dry.
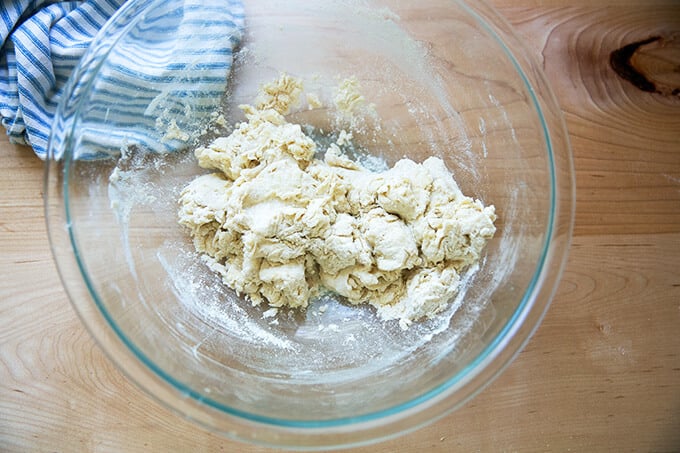
Use your hands to briefly knead the mass into a dough ball. Drizzle with olive oil. Turn to coat. Cover bowl with a cloth bowl cover, and let rise in a warm spot for 1.5 hours or until …
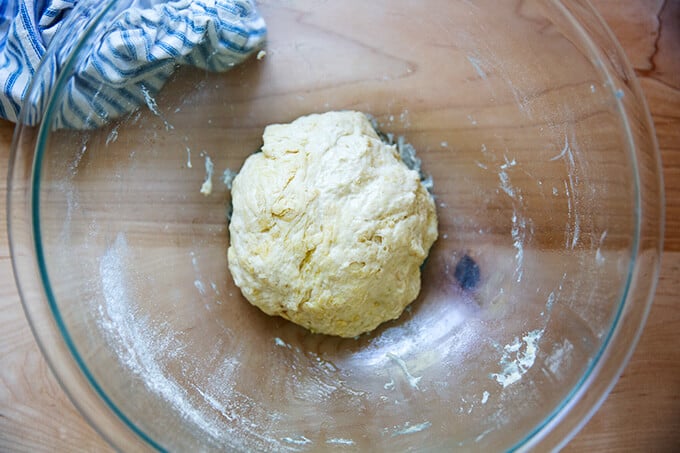
… slightly puffed.
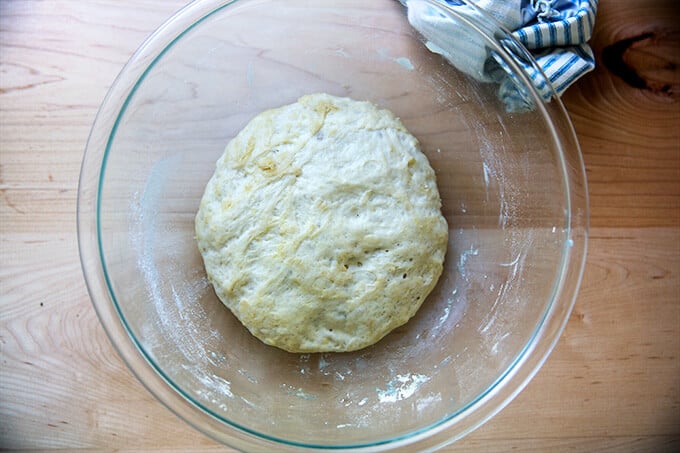
Turn out onto a lightly floured work surface, knead briefly, then use a bench scraper to divide the mass into 6 roughly equal portions. If you’re using a scale, each portion should weigh about 73 grams.
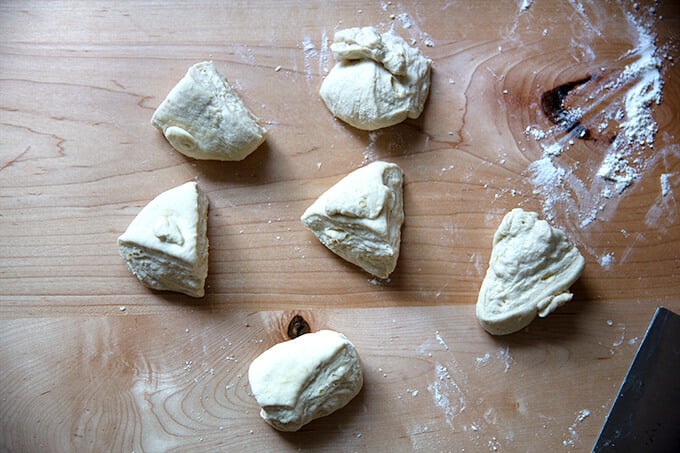
Shape each portion into a ball; then let rest for 30 minutes. This allows the gluten to relax: the brief rest will make them easier to roll out into rounds.
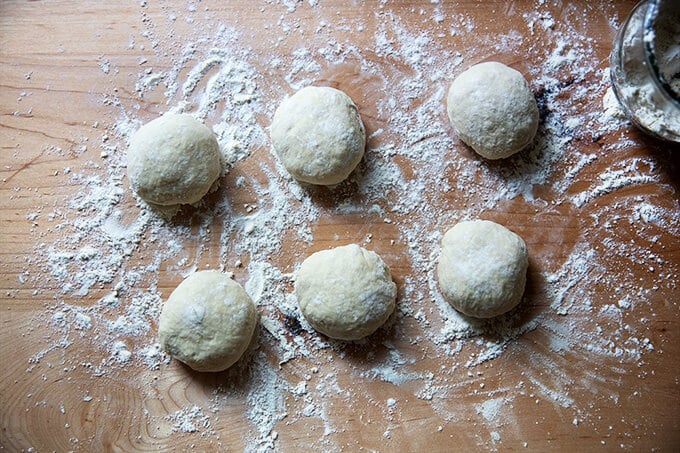
Flatten each ball with your hands; then working with one round at a time, roll into a 6-inch round.
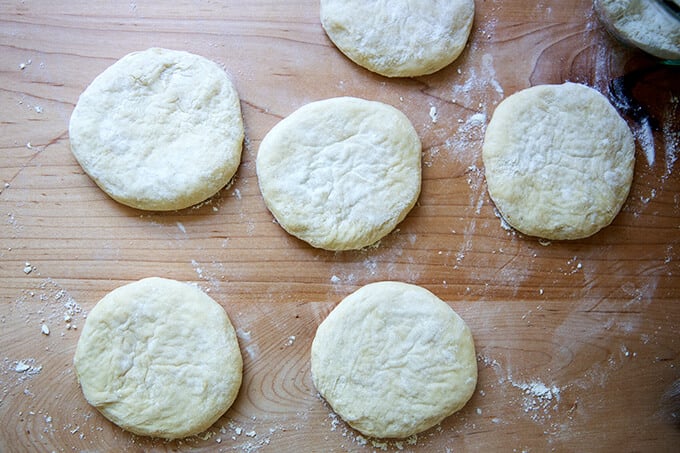
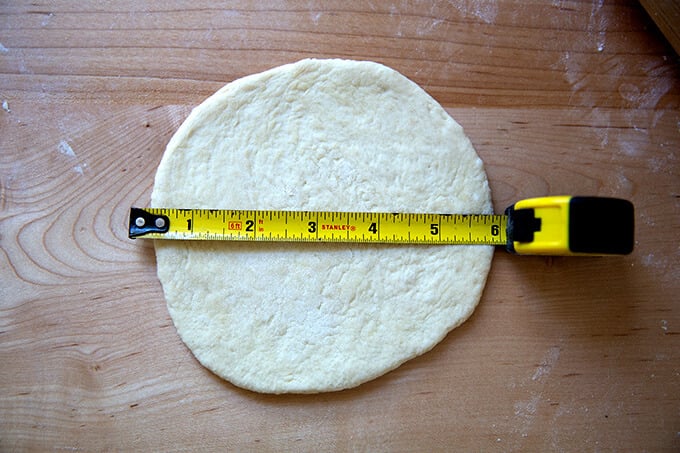
Transfer each round to a sheet of parchment paper. Let rest for another 15 minutes. Meanwhile, heat a Baking Steel or pizza stone to 550ºF. (Note: If using a stone, reference the manufacturer’s manual regarding heat tolerance.)
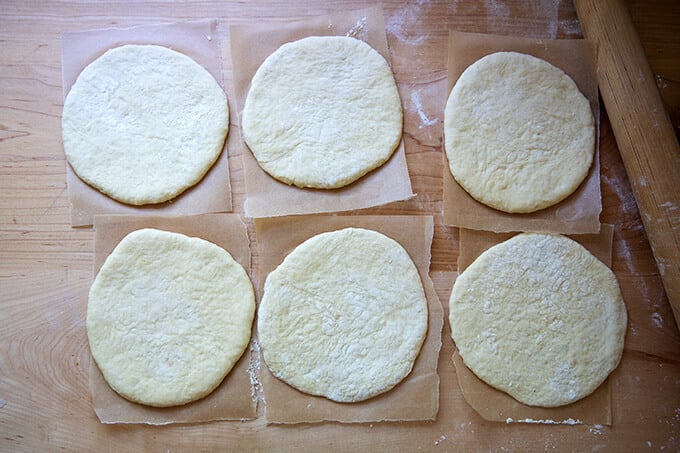
Bake three rounds at a time for 2-3 minutes, or until lightly golden.
Transfer freshly baked pita to a towel-lined bowl. Wrap to cover until ready to eat.
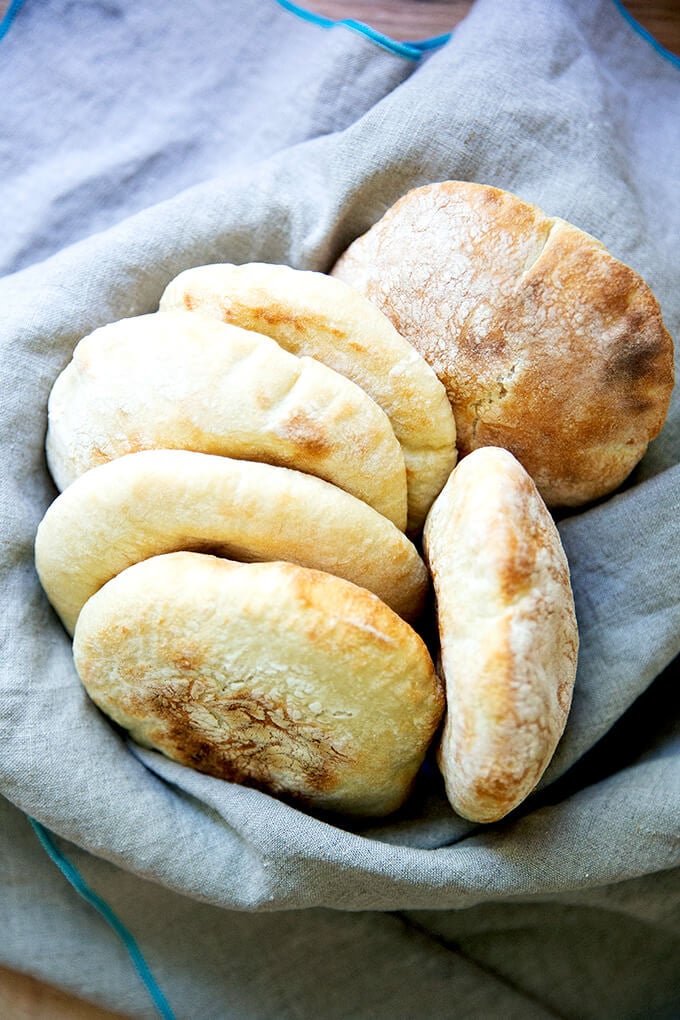
How to Make Fresh Homemade Pita Bread
- Total Time: 3 hours 4 minutes
- Yield: 6 1x
- Diet: Vegan
Description
Making fresh pita bread at home couldn’t be easier. This recipe uses instant yeast and requires no kneading or complicated shaping. The pita rounds balloon into perfect pockets in 2 minutes in the oven.
Notes:
To create a warm place to rise: Preheat your oven for 1 minute; then shut it off.
Parchment paper sheets: If you buy parchment paper that comes in sheets, such as the If You Care brand, you can fold the sheet lengthwise, then into thirds widthwise, and cut along the creases to create 6 equal pieces.
If you don’t have instant yeast, you can use active-dry yeast. Simply sprinkle it over the lukewarm water, and let it stand for 15 minutes; then proceed with the recipe.
FAQs:
Can I use whole wheat flour?
I suggest using no more than 50% whole wheat flour (1 cup or 128g) in this recipe because using too much could prevent the pockets from puffing in the oven. The more whole wheat flour you use, the more bran there will be in the dough: bran cuts through the gluten structure, which can prevent the dough from puffing in the oven. Depending on the whole wheat flour you are using, you may need to increase the amount of water: whole wheat flour tends to be thirstier. Reference the video for how the dough should look; then add more water if necessary.
What if I don’t have a Baking Steel or pizza stone?
Here are two alternative methods:
- Place a cast iron skillet in the oven, and let it heat for at least 5 minutes; then bake each round one at a time for 2-3 minutes total.
- Place a sheet pan in the oven, and let it heat for at least 5 minutes; then bake three rounds at a time for 2-3 minutes total.
Ingredients
- 2 cups (256 grams) all-purpose flour, plus more for sprinkling
- 1 teaspoon (5 grams) kosher salt
- 1 teaspoon (4 grams) instant yeast, see notes above
- a scant 3/4 cup (165 grams) lukewarm water
- 1 tablespoon (14 grams) olive oil, plus more for drizzling
Instructions
- Mix the dough: In a large bowl, whisk together the flour, salt, and instant yeast. Add the water and oil. Stir with a spatula until a shaggy dough forms — the mixture will appear dry and unevenly mixed. Use your hands to knead the dough briefly in the bowl just until the flour is absorbed and you have a sticky ball, about 30 seconds. Drizzle a little olive oil over top, turn the dough to coat, cover bowl with a tea towel, and transfer to a warm place (see notes above) to rise for 1.5 hours.
- Prepare the oven: Heat the oven with a Baking Steel or stone inside at 550ºF. See notes above if you do not have a Baking Steel or pizza stone. Cut a sheet of parchment paper into 6 small pieces about 6-inches square, see notes above.
- Portion the dough: Turn out the dough onto a lightly floured work surface. Knead briefly to form a ball. Use a bench scraper to divide the dough into 6 equal portions — each ball should roughly weigh 73 grams. Using flour as needed to prevent sticking, ball up each portion, using the pinky edges of your fingers to create tension (see video for guidance). Let the portions rest for 30 minutes.
- Roll out each ball: Flatten one ball, and, using flour as needed, gently roll it out with a rolling pin until you have a 6-inch round — the key is to not roll too aggressively in order to prevent the air pockets from being forced out. If a round is resisting, set it aside, begin rolling out another one, and return to the stubborn one at the end. Transfer each 6-inch round to a sheet of parchment paper. Let rest for 15 minutes.
- Bake the pita: When the oven has preheated, use a pizza peel to shimmy one round at a time, parchment paper and all, onto the preheated Baking Steel. I like to cook 3 at a time. Set a timer for 2 minutes. If the pita is lightly golden, it’s done. Remove pita, transfer to a tea towel-lined bowl, and close the towel. Repeat with the remaining 3 rounds of pita.
- Store the pita: Store pita at room temperature in an airtight bag or container for 3 days or freeze for up to 3 months. Reheat before serving.
- Prep Time: 3 hours
- Cook Time: 4 minutes
- Category: Bread
- Method: Yeast
- Cuisine: Mediterranean
This post may contain affiliate links. Please read my disclosure policy.





601 Comments on “How to Make Fresh Homemade Pita Bread”
These pitas are so much fun to make! They are another No Knead Wonder! Shaping and rolling only 6 small dough balls, they came together quickly. But it really gets fun when you put them in the super hot oven, and in 3 minutes they magically turn from being a flat “pancake” to a beautifully puffed pita! I served them with Alexandra’s fabulous Souvaki, Tzatziki, gyro style with lettuce and tomatoes. I also made a Greek Salad with your easy and delicious Greek salad dressing. Although I made this wonderful meal for America’s 250th Independence Day Celebration, my husband jokingly asked if we were actually celebrating Greek Independence Day! 😂 My spanikopitas came frozen, and were subpar, so I’m going to have to try yours, Alexandra!! Thanks for such winning recipes!
Awww, Nancy! I’m so happy to read all of this. Thanks so much for writing and sharing all of the details. I really need to update my spanakopita post. Were yours in the shape of small triangles? That could be a fun post, too 🙂 Happy Belated Fourth (and Greek Independence Day 🇬🇷🇬🇷🇬🇷) 🤣
I’ve tried making pitas a number of times. This is the best version with excellent results!!
Great to hear, Ruth! Thank you for writing 🙂
I made these for the second time yesterday and they turned out pretty good. The first three puffed a lot better than the second three. I just used a cookie sheet and it’s a little awkward getting the parchment placed on a hot pan. I do have a question. It’s about 100 degrees here in Texas right now so turning my oven to 495 wasn’t ideal. Has anyone tried doing these one at a time in an air fryer set to bake?
Thanks for writing and sharing your notes, Kelly. The first three likely puffed better due to the hotter oven and hotter sheet. The next time you use your oven, you could give the oven 15 minutes or so in between bakes to allow it and the sheet pan to get back up to temperature.
I love your air fryer idea! I’ve had one for about 6 months now and am so impressed. I still have not learned all of the settings, but I would air fry it at the hottest temperature. My guess is it will work beautifully.
Excellent Alexandra!
Great to hear, Raymond 🙂
I made the pitas for tonights dinner. And let me tell you , I will NEVER buy pita again. Your recipe is so easy to follow and turns out perfect . I had tried other recipes for pita, but they don’t compare to this one at all. It was so much fun working with the dough and see the puffing once in the oven. They’re almost too pretty to eat, but the family demanded dinner, so I gave in. Thank you so much for such a great recipe!
PS: I live in NM, and even though I have to alter some recipes sometimes, because of the high altitude, I made no changes, and it worked fine. Thanks again
I’m so happy to read all of this, Regine! Thanks so much for writing and sharing your experience. I’m so glad the recipes generally work at elevation, too.