 →
→ Zero-Waste Homemade Chicken Stock/Broth
This post may contain affiliate links. Please read my disclosure policy.
Below you will find a recipe for making super-flavorful chicken stock/broth using a whole chicken and some pantry staples. In addition to the beautiful stock, the method will leave you with a mass of perfectly cooked chicken to use as you please in salads, soups, casseroles, and more.
Making stock is as simple as throwing chicken — whole, pieces, or bones — into a pot, covering it with water, and letting it simmer for a few hours. Vegetables and aromatics such as onions, carrots, celery, bay leaves, and peppercorns add depth of flavor but they are not essential — if you don’t have them, don’t go running out to buy them.
The method outlined below is one I learned from the chef I worked for at Fork: place a whole chicken in a large pot, cover it with cold water, bring it to a simmer, then turn off the heat. One hour later, pull the meat from the carcass, then return the carcass to the pot to simmer with vegetables and aromatics for several hours or until you’ve produced a rich, flavorful broth.
I love this method for making stock because nothing is wasted: the chicken emerges from the pot plump and moist, pulling easily away from the bone, perfect for chicken salad, enchiladas, or soup; the carcass emerges completely spent, all of its goodness released into the glistening, golden broth.
How to Make Chicken Stock, Step by Step
First, place a whole chicken in a large pot:
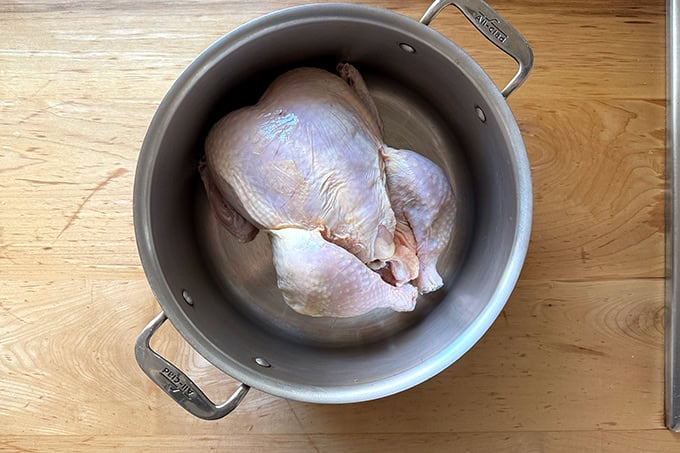
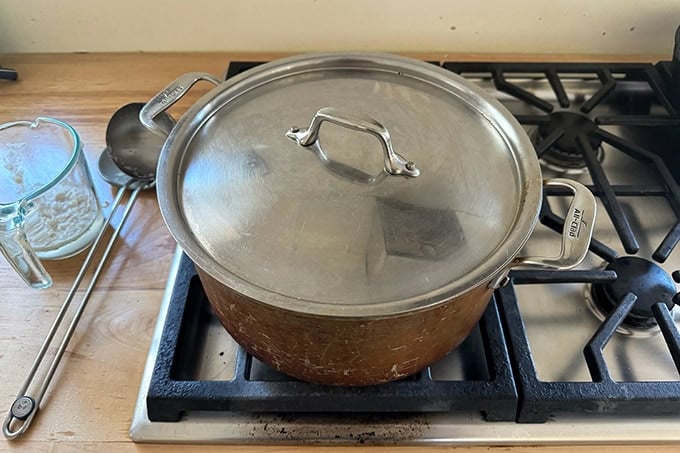
Cover it with 4 quarts of water and place it on the stovetop:
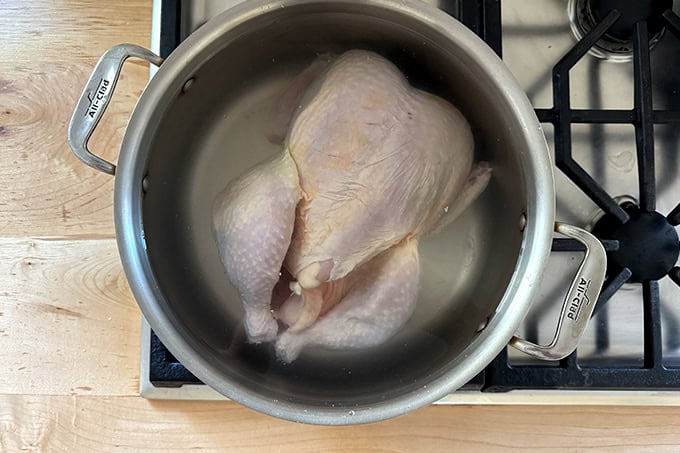
Bring it to a simmer… and simmer for 5 minutes for larger birds…
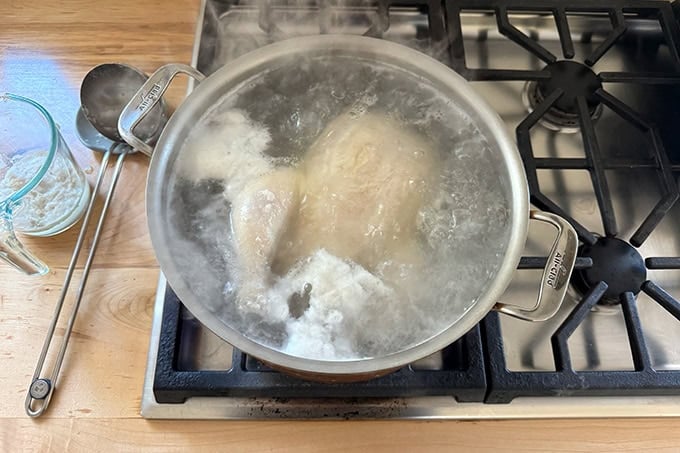
… then immediately turn off the heat and cover the pot.
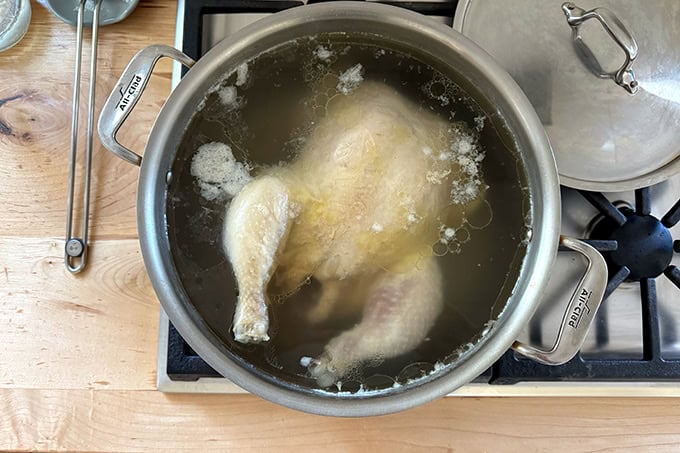
One hour later, uncover the pot:
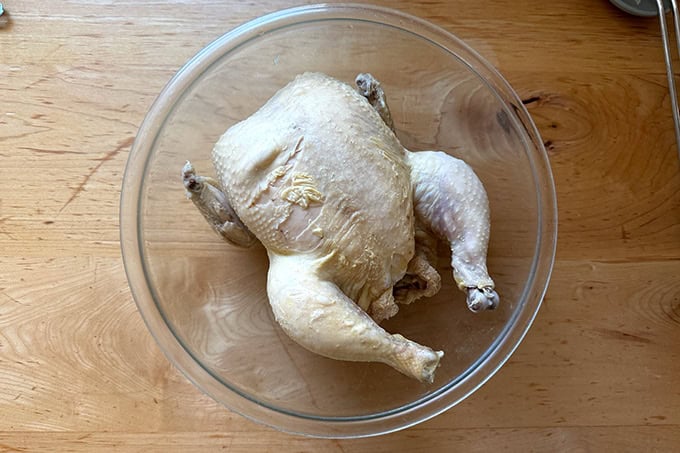
And transfer the chicken to a large bowl to cool briefly:
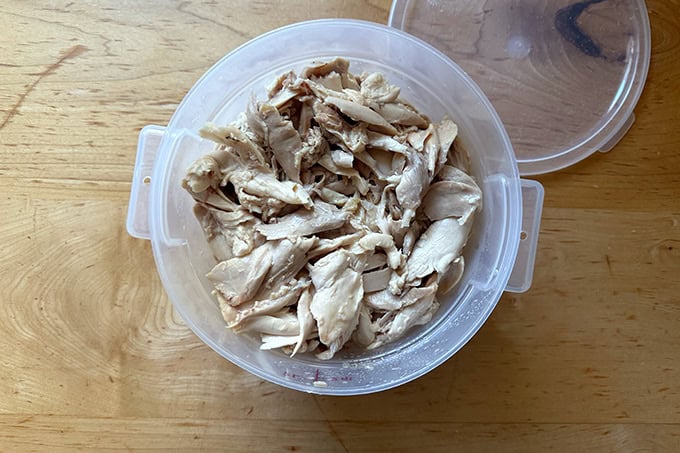
When cool enough to handle, break apart the chicken as you wish, placing the skin in one bowl, the bones back into the pot of water, and the meat in the large bowl.
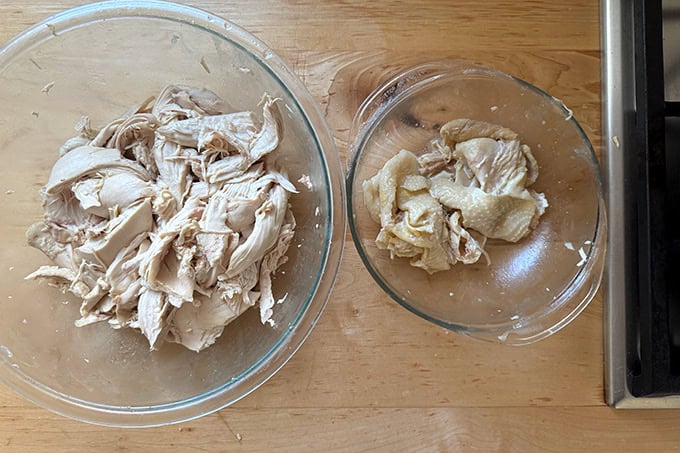
Transfer the meat to a storage container and reserve for another purpose:
To the pot of water with the bones, add one chopped-up onion (no need to peel), one unpeeled chopped carrot, 4 to 5 celery stalks roughly chopped, a bay leaf, salt, and a few whole peppercorns:
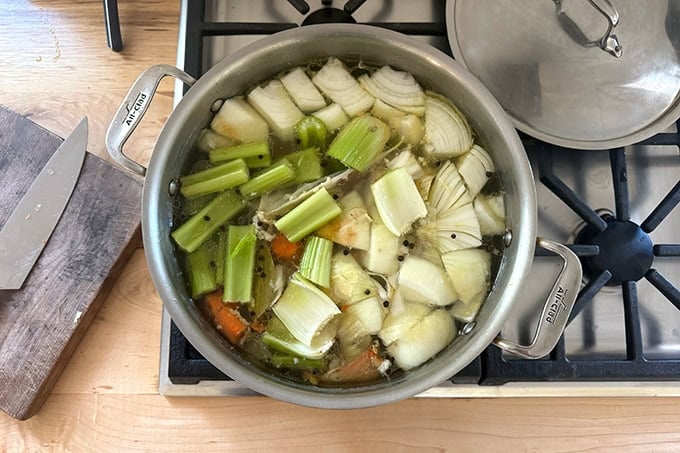
Bring it to a boil, then lower the heat so that the stock is gently simmering:
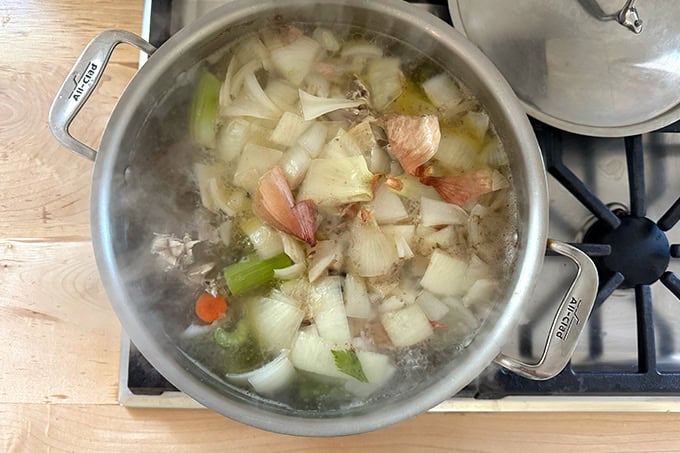
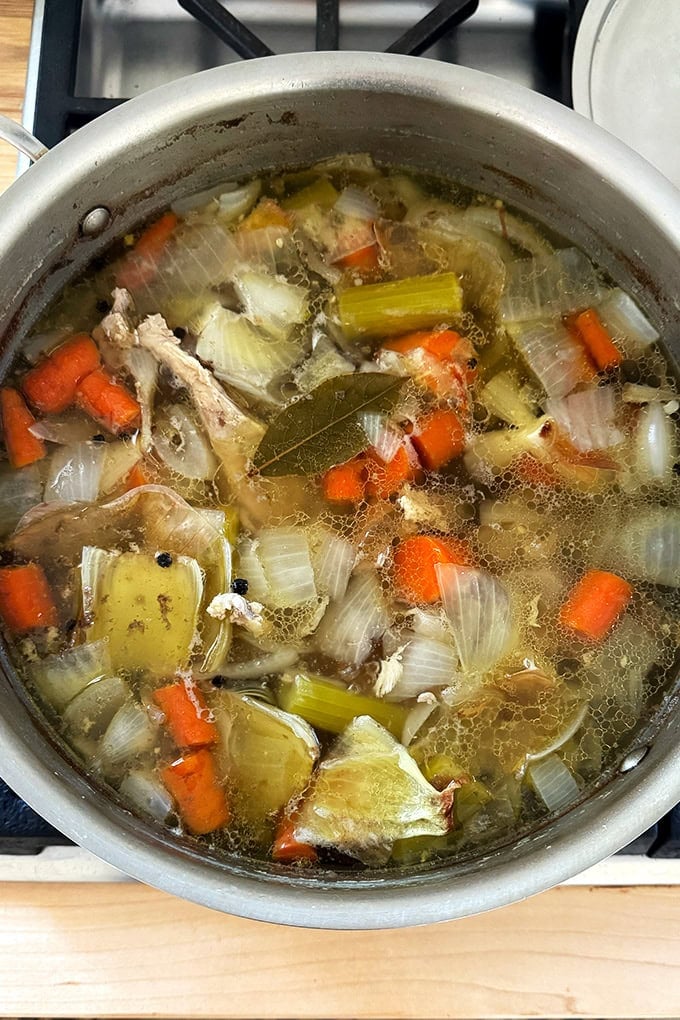
After 2-3 hours or when the stock has reduced considerably and tastes rich and flavorful, turn off the heat:
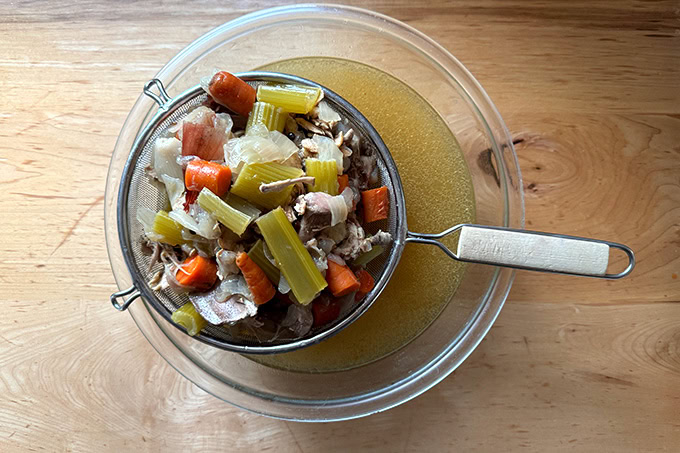
Pour the contents into a strainer set over a bowl:
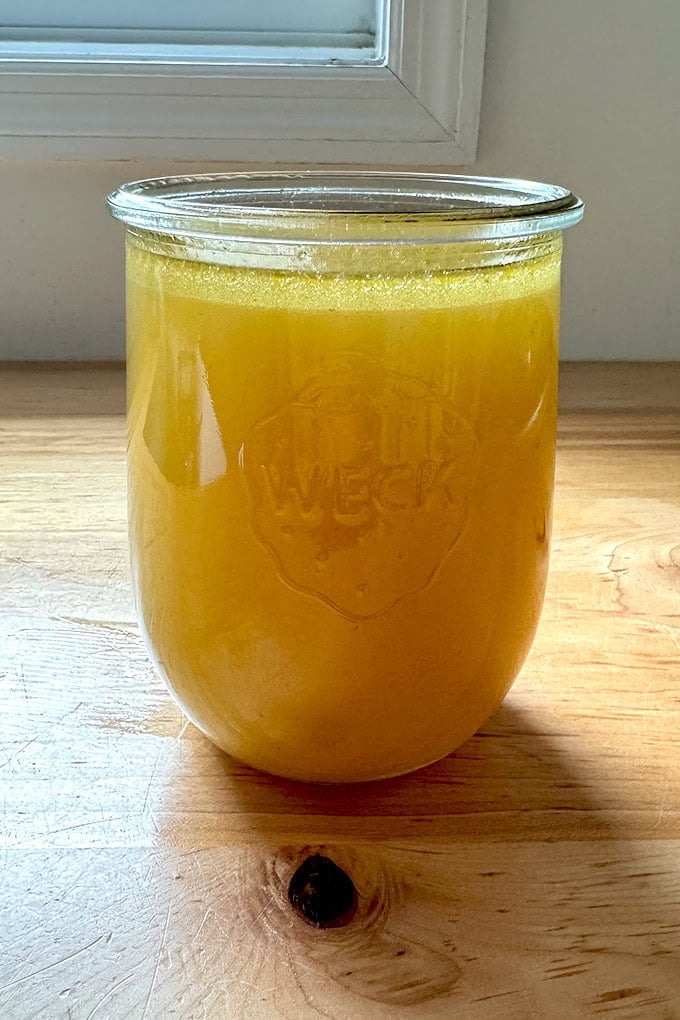
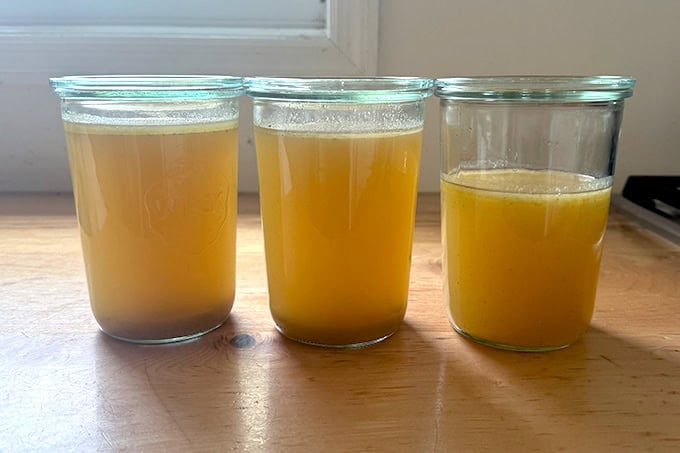
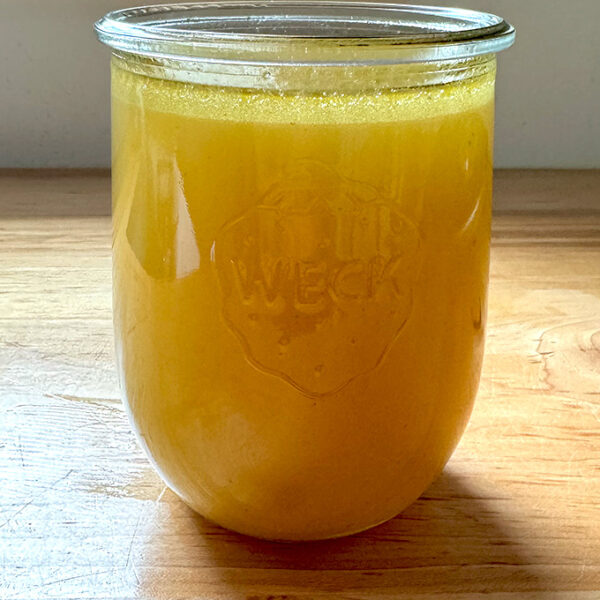
Then transfer the stock to storage vessels. I love these Weck Jars:
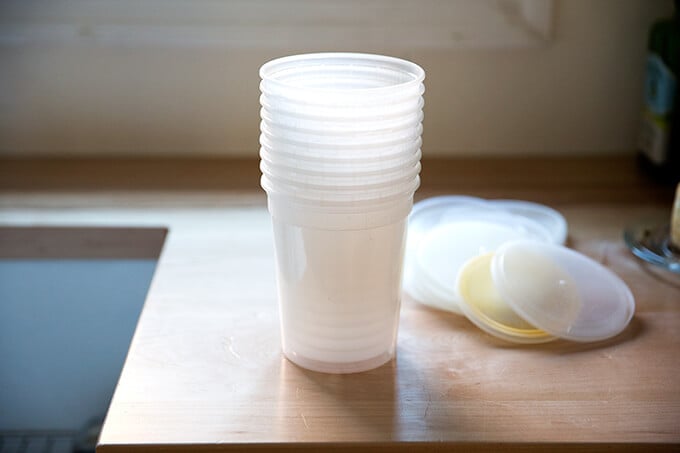
These quart containers are also great for freezing stock, soups, stews, etc.
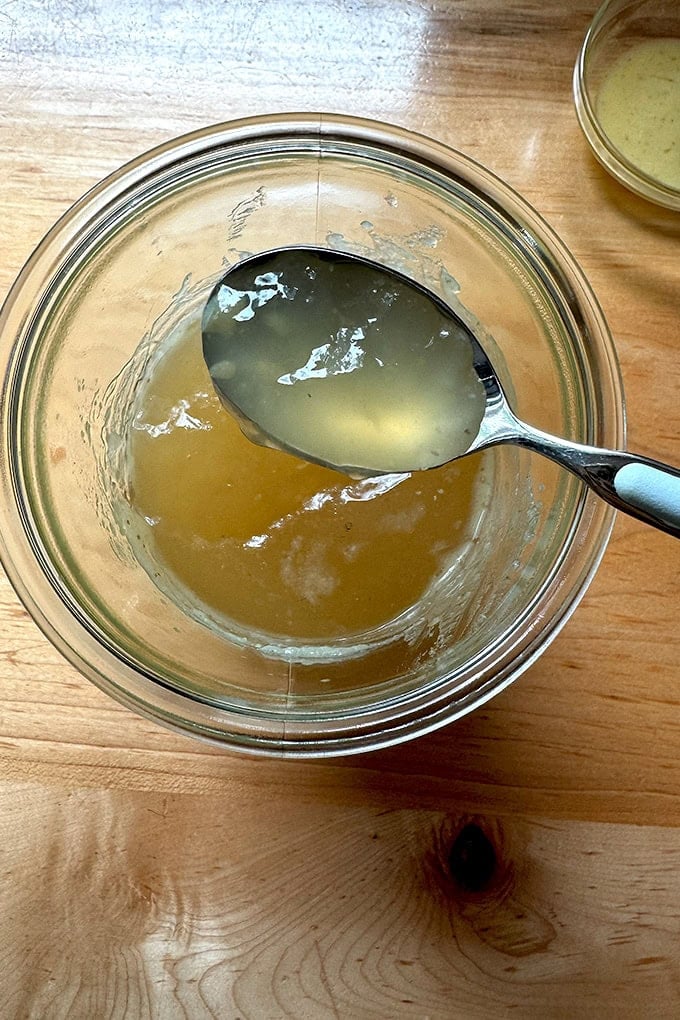
The sign of a beautiful stock: a gelatinous texture once completely cooled/chilled in the fridge.
Zero-Waste Homemade Chicken Stock/Broth
- Total Time: 3 hours 5 minutes
- Yield: 2 Quarts 1x
Description
Below you will find a recipe for making super-flavorful chicken stock/broth using a whole chicken and some pantry staples. In addition to the beautiful stock, the method will leave you with a mass of perfectly cooked chicken to use as you please in salads, soups, casseroles, and more.
Notes:
- These quart containers are also great for freezing stock, soups, stews, etc.
- I love these Weck Jars, too.
Ingredients
- 1 whole chicken, 4 to 5 lbs.
- 1 whole onion, roughly chopped, no need to peel
- 4 stalks celery, roughly chopped
- 4 carrots, roughly chopped, no need to peel
- 2 teaspoons kosher salt, plus more to taste
- 1/2 teaspoon whole peppercorns
- 1 bay leaf
Instructions
- Place the chicken in a large pot. Cover with 4 quarts of cold water. Bring to a boil, skimming off and discarding any scum that bubbles up at the surface. As soon as it comes to a boil, lower the heat to the water is just simmering, then simmer for 5 minutes. Turn off the heat, cover the pot, and let sit for one hour. (Note: Due to some commenters having an issue with doneness, I’ve added this 5-minute simmer step. If you have not had issues in the past, you can simply shut the heat off and cover the pot when the water comes to a boil.)
- Uncover the pot, and transfer the chicken to a large bowl to cool. When cool enough to handle, break the chicken apart as you wish, placing the skin in one bowl, the bones back in the pot of water, and the meat in the large bowl. Transfer the meat to a storage container and reserve for another purpose.
- To the pot of water with the bones, add the remaining ingredients, including the 2 teaspoons of kosher salt. Bring the broth to a boil, then lower the heat so that it is gently simmering.
- After 2-3 hours or when the stock has reduced considerably and tastes rich and flavorful, turn off the heat. Adjust with salt to taste.
- Pour the contents through a strainer or colander set over a large bowl. Discard the bones and vegetables once they have cooled. Transfer stock to storage containers and place in the fridge overnight or until completely chilled and fat has formed a solid layer at the top of the container. Scoop off this fat and save for another use (to roast potatoes or sauté onions or use as you would butter/olive oil) or discard if you prefer. Freeze stock for up to 3 months or store in fridge for at most a week.
- Prep Time: 5 minutes
- Cook Time: 3 hours
- Category: Stock
- Cuisine: American
This post may contain affiliate links. Please read my disclosure policy.


37 Comments on “Zero-Waste Homemade Chicken Stock/Broth”
I am looking forward to trying this! Do you ever roast a whole chicken and then use the cooked carcass and bits for broth or do you find that uncooked pieces yield more flavor?
I do! I don’t generally roast a chicken for the purpose of making stock, but I always turn leftover roast chicken carcass into stock. After dinner, into the pot it goes covered with water, and a few hours later, I’ve got a super flavorful stock. Love it!
correction?
store in fridge for AT MOST a week? 🙂
Thank you!! Edited.
Oh I love this idea, Bri! I’ve been using my IP to poach chickens and make broth as well. I love that you really don’t lose any liquid (the way you do stovetop), so you end up with a ton of stock.
Your stock looks like it gelled mine did not, followed the recipe and I used chicken wings but I looks like thin broth.
Hi! Are you testing the stock while it’s still hot/room temp? It won’t get until it has chilled in the fridge.
Yes I let it cool down before putting in the fridge overnight but still looked like broth the next day. Made my gravy following your recipe but had to add double the flour to thicken it. Still tastes great.
Interesting! Wings generally are great for making gelatinous stock. It’s possible you just needed to simmer it further to reduce/concentrate it more.
I made some stock yesterday, and your picture of the finished stock looks just like mine, including the bay leaf floating on top! That was a batch made from all the frozen raw and cooked bones – one hour in the instant pot – next time I will try your method.
I do love using the IP for stock! So fast and efficient. Smart to save and freeze all of those leftover bones. Thanks for writing 🙂
Ali, to confirm, you hold off the 2teaspoons salt until the stock is strained and complete, then the 2 teaspoons is a “to taste” amount?
Hi! Sorry for the confusion. I just updated the recipe to make it more clear. I do have you add the salt when you add the vegetables, bay leaf and peppercorns. Then you can add more salt to taste after the 2-3 hours if you necessary.
Alex, thank you for this. I always follow your salt recommendation and also always use you high end when you give a range. So in this case I am appreciative of your response.
I’m curious about not including the skin? Is there little flavor? I’m sure there is science behind it and would love to understand. Also is there truly much difference in taste and the finished product with a supermarket chicken or a local one? And thank you for your consistently wonderful blog and recipes!
Hi Chrysanne! I have you discard the skin after that first hour of poaching, because basically after that one hour, it is pretty spent. And I have found that when I leave a lot of skin on, it ultimately just becomes a layer of fat that I end up removing in the end anyway. But there is no harm in leaving the skin in if you find that to be easier. I almost always use a supermarket chicken, and I find the flavor to be great. A local chicken will likely produce even tastier broth, but I don’t think you can go wrong with what your market has to offer. Thank you for your kind words 💕💕💕
Hi Ali-Is there any difference between and bone broth? I make bone broth for 24 hrs. It talkes awhile but are the health benefits the same making it with your recipe?
I’m actually not sure. I’ve made stock with bones alone (as opposed to meat and bones), and I’ve never cooked it for more than 3-4 hours. So I’m not sure I’ve ever made a true bone broth? I’ll have to look into the benefits of a 24-hour cook time.
I think I read that the longer you cook the more calcium and nutrients are released from the bones. I’ll ask chat :). Thank you for always answering
What great timing! I just found a 50% off chicken at the grocery store and changed my menu planning for the week right away! My stock recipe is a slight variation on yours–I poach the chicken and strip as you do, then throw the bones, skins, giblets, and poaching stock into an Instant Pot and hit the soup button. Once it cools, I strain out everything that has given up its goodness and chill the broth.
I skim off the fat and use that tasty, tasty schmaltz to cook roasted potatoes, sauteed cabbage and onions, etc. What I don’t use in a week gets frozen for later. I started saving all my chicken fat during the pandemic, when no food was permitted to go to waste. Even though going to the grocery store is no longer a death-defying act, I still save my chicken fat! It’s liquid gold…
Such a good tip, Janet! I love this. I will start saving the fat as well. Waste not want not! I just edited the recipe to reflect your suggestion. Thank you for writing 🙂
Years ago (like 30!) I had a Viking stove which was nearly impossible to get a reliable simmer on, so I started cooking my stock in the oven overnight at 190 -200′. I still do it today with carcasses & some feet – no veg since I just want chicken flavor. Waking up to such a lovely smell with almost no work is my idea of a good time.
Thanks for your site – always a great read.
Wow! What a brilliant tip. Love this idea so much. I love it bc often times I want to make stock with the leftover bones from dinner, but I’m too tired to do it that night… this would solve that issue! I will try 🙂
I have always simmered the chicken and vegetables together which results in pretty mushy chicken. I’m excited to try your method of one hour for the whole chicken then simply cooking the bones.
Hope you love it, Joyce! Thanks for writing 🙂
I am not a big stock maker, the photos and simplicity of this made me want to dive in.
The chicken meat turned out perfect and so did the stock. However, I tend to fuss a lot over slow stovetop dishes; I check too often, stir too often, etc. Can I cook the stock in the oven instead? If so, what about temperature and time?
In general, can slow cooker recipes be converted to cook in a Le Creuset pot in the oven (I have the 5.5 quart size)? I have limited counter space so would love to use my oven instead. Is there a general guideline for times/temperatures conversions from a slow cooker to cooking in the oven?
Thank for continuing to share your food adventures and giving us awesome recipes!
p.s. for cooking polenta, I always use the Paula Wolfert hands-off oven recipe you shared several years ago.
So nice to hear from you Susanna! Coincidentally, Gale (see above) just wrote in sharing her oven method:
“Years ago (like 30!) I had a Viking stove which was nearly impossible to get a reliable simmer on, so I started cooking my stock in the oven overnight at 190 -200′. I still do it today with carcasses & some feet – no veg since I just want chicken flavor. Waking up to such a lovely smell with almost no work is my idea of a good time.”
I don’t have a general guideline, but I think you could convert this recipe to work in the oven by simply sticking the pot of bones, veg, etc (step 3) into the oven @ 190-200ºF for 10 hours or so?
Thank you for your kind words and thanks for writing… means a lot 🙂
I tried this recipe today. My chicken was not cooked after the stand time. Is there not a way to test it before it is removed from the water?
Hi! What size chicken were you using? And were you using a large enough pot — were you able to cover it with 16 cups of water?
It was a 5 lb chicken and yes , it was covered with water. I actually wondered perhaps if I had too much water in the pot?
I don’t think too much water was the issue. And you measured 16 cups? And it came to a full boil before you covered it and shut off the heat?
I’ve just tried this recipe and my chicken was also not fully cooked afterward.
It was a smaller bird, just under 4 pounds, and I used my dutch oven, which I thought would retain the heat more, and is my only pot large enough. I used the full 16 cups of water, brought it to a full boil, then covered it and turned off the heat. It looked cooked when I took the lid off an hour later, so I let it cool for 20 minutes and then attempted to remove the meat from the bones. That’s when I discovered it was not fully cooked.
I’ve put it back in the water and I’m simmering it, covered, until cooked but I wish I knew what went wrong?
Shoot! Well, there is clearly a fault in the method if two of you now are having issues. I will add a “simmer for 5 minutes once it comes to a boil” step. I think that should do it. Was it the leg meat that was not fully cooked or the breast meat as well? I’m sorry for the trouble here!
Yes, the leg meat was underdone, i didn’t check the breast meat, I just put the whole thing back in the pot.
I was kicking myself afterward for not using an instant read thermometer to verify that it was cooked through, as soon as i removed it from the pot. That might be a good note to add to the recipe, just as an extra safety check.
But no worries, the broth turned out great, and it’s waiting in my fridge to be made into an excellent soup. Thank you for your response and I hope you have a happy Easter weekend.
Thank you for understanding, Judy! Next time I make it, I’m going to temp the chicken at various phases and try to add some more notes to the recipe. Happy Easter weekend to you!
Made stock this way for the first time in my 5 decades in the kitchen. I had a 1.5 kg chicken (a little over 3 lbs). I put it into my Presto pressure cooker and covered with water. I did have to do a 5-8 minute simmer to finish cooking the thighs. Once I cleaned off the bone I put them back into the pressure cooker with the aromatics and processed for an hour… When I checked I could still see collogen so I left it for another 10 minutes. I think I had a little too much water for my tiny bird because the stock did not gell. However, it is absolutely delicious and I was thrilled to have the cooked chicken available for uses. Thank you!
Great to hear, Susan! Thanks so much for writing and sharing your pressure cooker notes — so helpful for others. Isn’t it such a gift to have both broth and cooked chicken on hand?