 →
→ 

Jim Lahey’s No-Knead Bread
 By Alexandra Stafford
—
Last Updated: 01/30/2026
By Alexandra Stafford
—
Last Updated: 01/30/2026
This post may contain affiliate links. Please read my disclosure policy.
Crusty, airy, bakery-style bread in your home kitchen? Yes. You. Can. This dough takes 5 minutes to stir together, and from there, time does the work. If you love a rustic boule for dipping in your soup or toasting and slathering with butter and jam for breakfast, this recipe is for you.
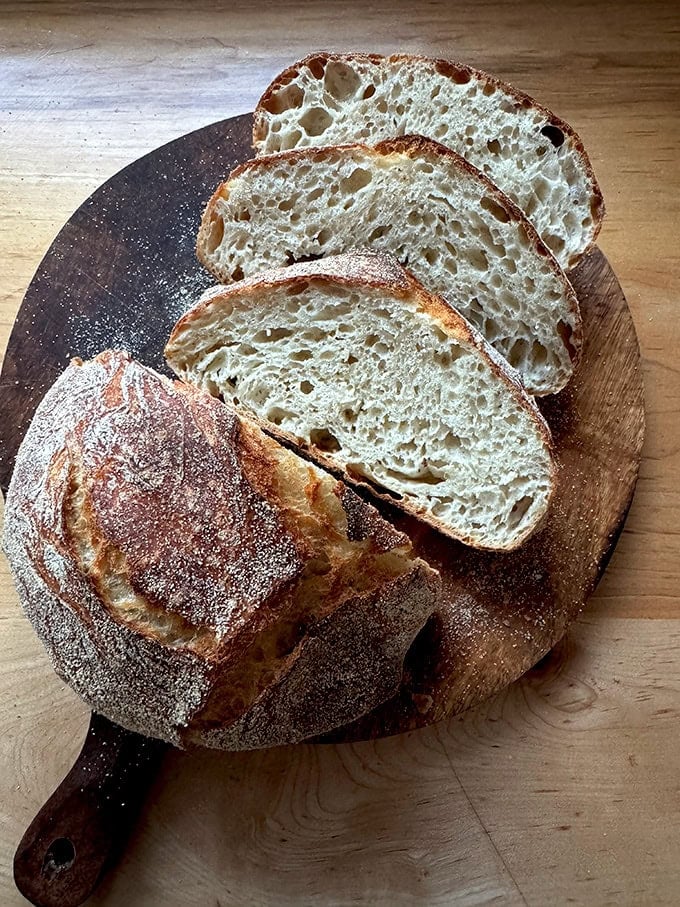
If you’ve spent any time toiling over a loaf of sourdough bread, making Jim Lahey’s no-knead bread will feel like a breath of fresh air. This recipe calls for a very simple mixing and shaping process, requiring little equipment and skill.
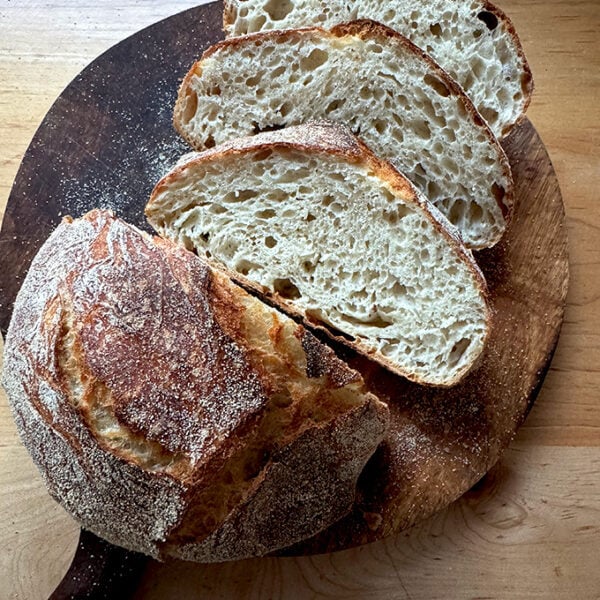
The bread emerges crusty and cornmeal-dusted, with a light, airy crumb. Why does this recipe work?
First: time. During the long, slow rise, both gluten and flavor develop.
Second: the baking method. This dough bakes in a Dutch oven, covered first, then uncovered. When the pot is covered, water in the dough evaporates and transforms into steam. Both the carbon dioxide gas in the dough and the steam push against the gluten structure, causing the dough to spring. During the last 15 minutes of baking, when the lid is removed, and the bread is exposed to dry heat, the gelatinized surface of the dough dries out, forming a crackly crust. The cornmeal further promotes a crunchy exterior.
How to Make Jim Lahey’s No-Knead Bread, Step by Step
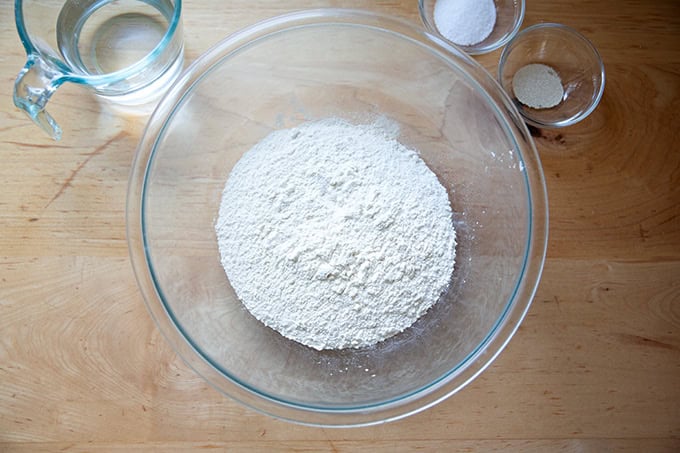
First gather your ingredients: flour (bread or all-purpose), salt, instant yeast (SAF is my preference), and water:
Combine the flour, yeast, and salt:
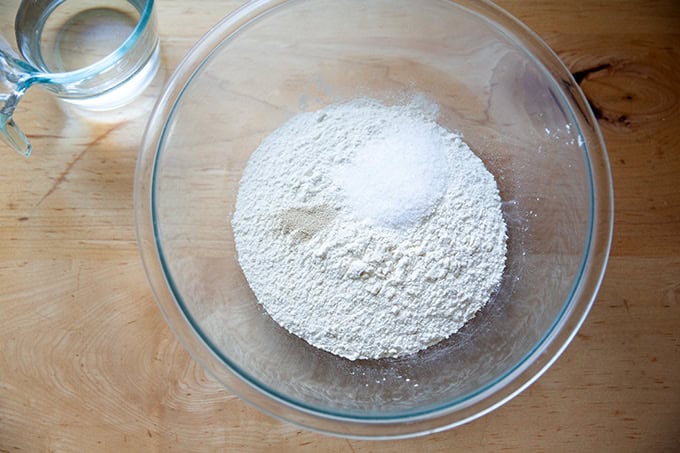
Whisk to combine, then add the water:
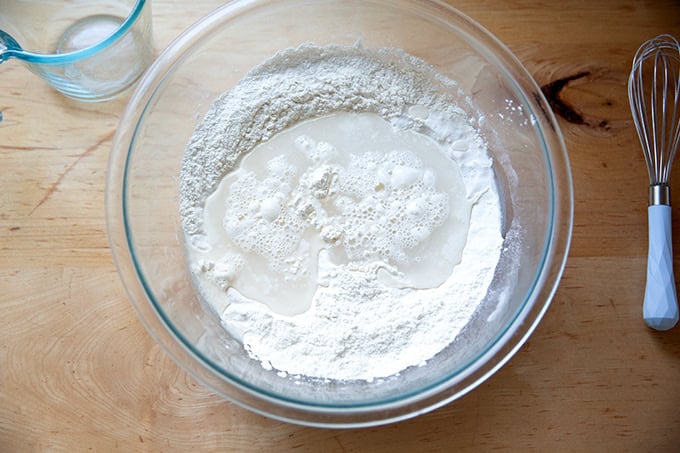
Stir until you have a sticky dough ball:
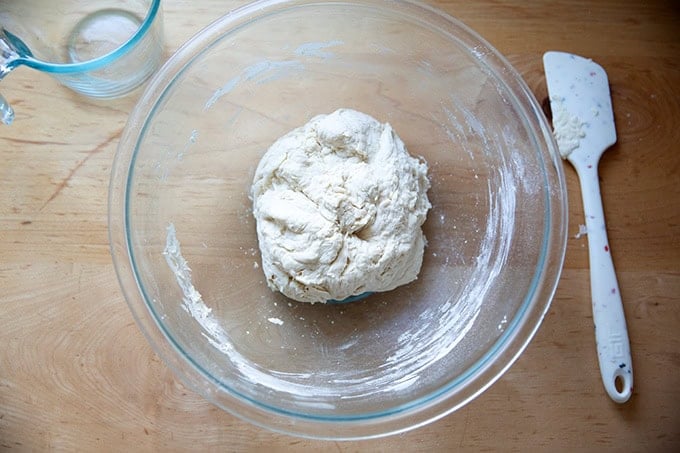
Cover the bowl. At this point, you can leave the dough untouched for 18 hours. Or, if time permits, in 15 to 20 minutes, you can perform one set of stretches and folds: simply grab an edge of the dough using a wet hand and stretch it up and in. Repeat this 8 to 10 times, grabbing a different edge each time. I find even performing just one set of stretches and folds gives my dough the teensiest bit more strength and ultimately a bit more loft.
Compare the difference between this dough after 18 hours, which experienced no stretches and folds:
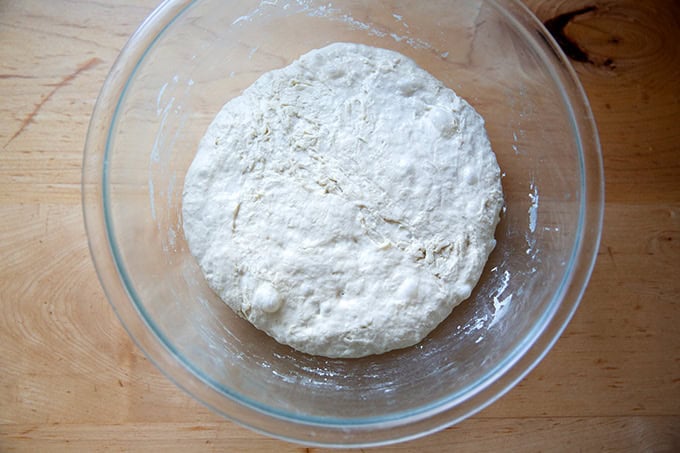
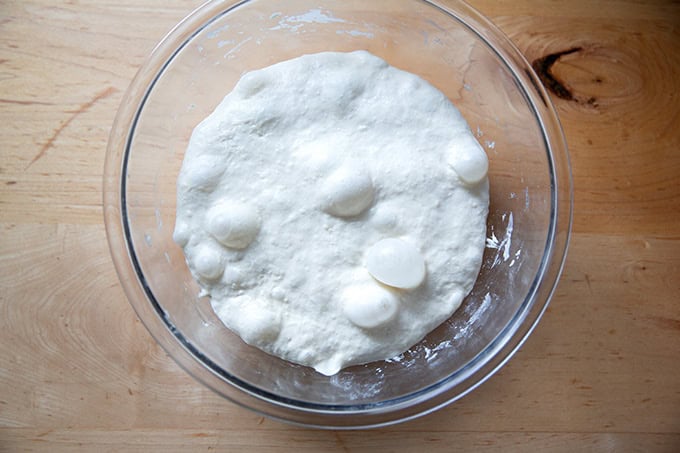
And this dough, also after 18 hours, which experienced one set of stretches and folds:
Turn the dough out onto a lightly floured work surface:
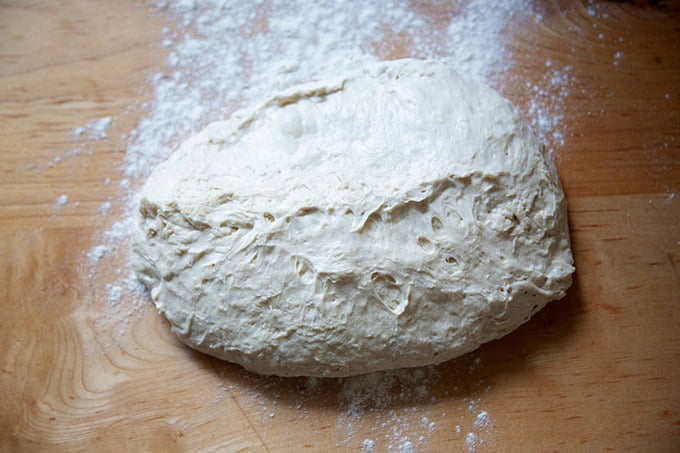
Then fold it into a rough ball:
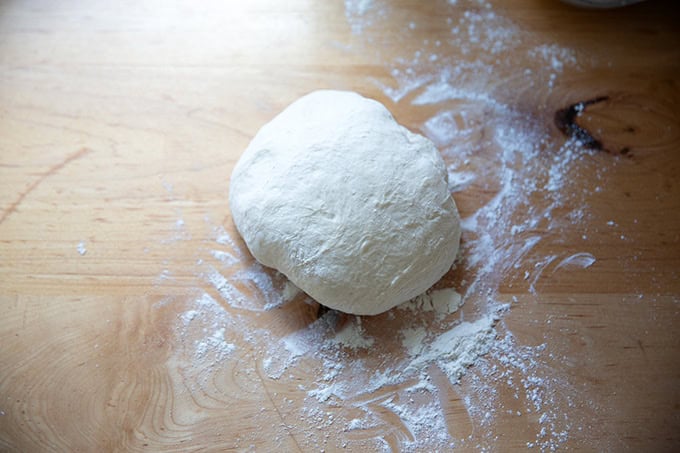
Lightly dust a tea towel or flour sack towel (I love these Flour Sack Towels) with cornmeal and place the shaped round cut side down on the towel. Sprinkle with more cornmeal:
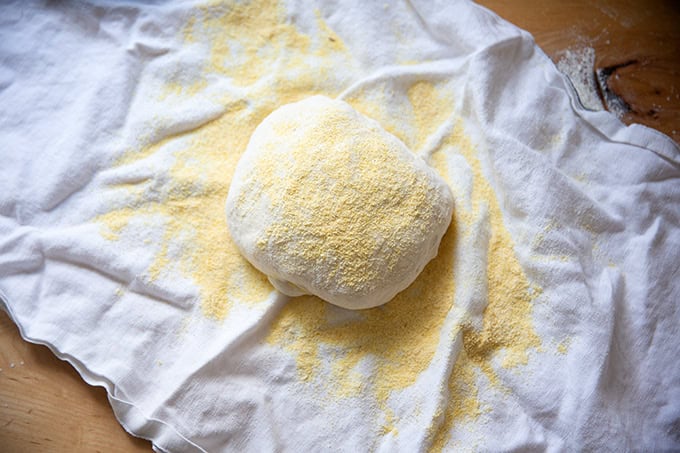
Incidentally, this is the cornmeal I buy:
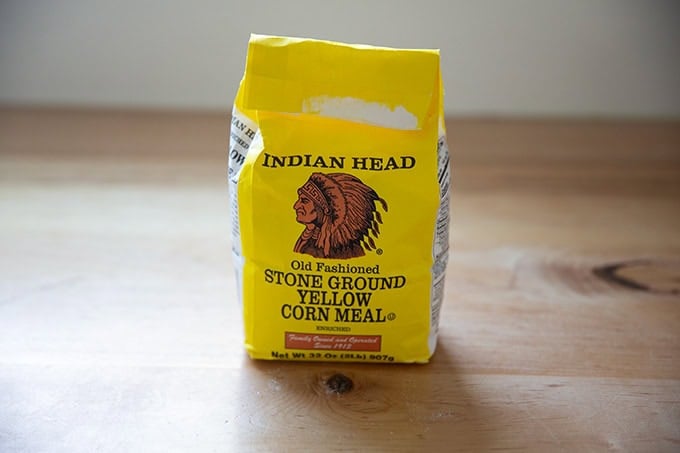
Wrap into a bundle and set in a small bowl (an 8-inch banneton or Pyrex bowl or anything similar) will work. Set aside to rise for 2 hours.
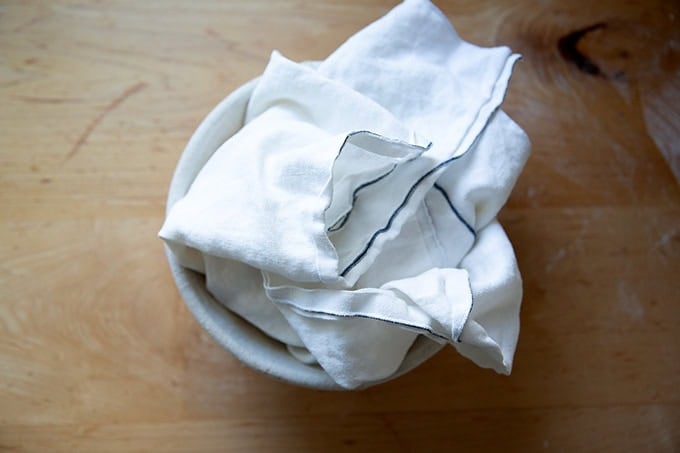
Forty-five minutes before you plan on baking, place a Dutch oven in your oven and preheat it to 450ºF. I’ve used my 5-Qt Lodge and my Challenger Bread Pan here with success.
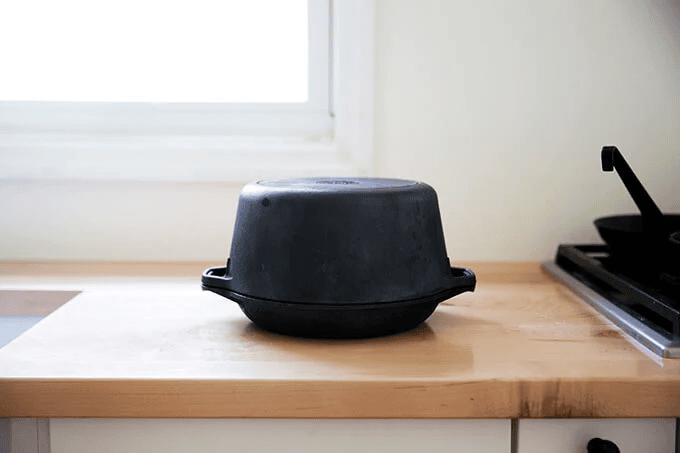
When you are ready to bake, open the towel, and remove the bowl.
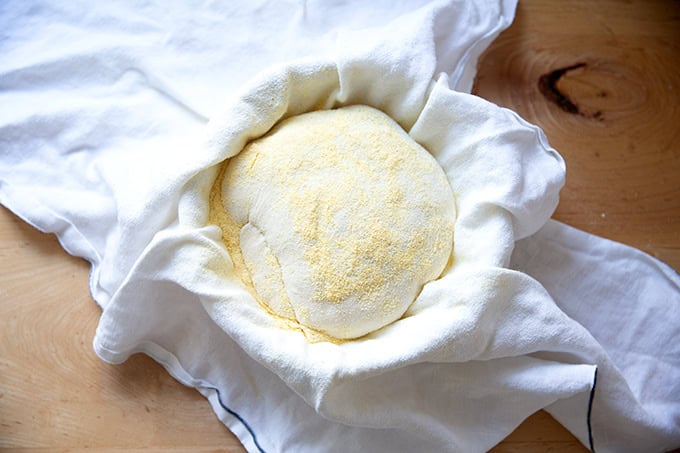
Lay a round of parchment over the top of the dough and lay one hand on top; then slide your other hand underneath the towel, and carefully flip the round onto the parchment, so that the seam side is up. (Note: The seam will be hard to see, but it will open up in the oven.) This will make a mess of cornmeal everywhere… simply sweep it away. I love these parchment rounds for both pizza and this bread.
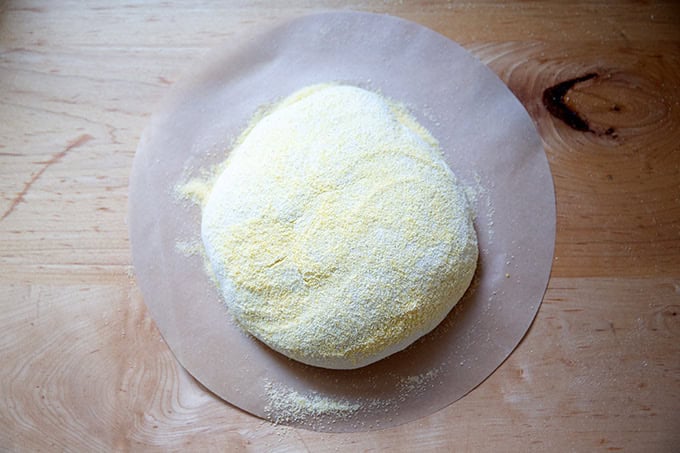
Remove the Dutch oven from the oven and set it on a cooling rack. Remove the lid and carefully lower the bread, parchment paper and all into the pot:
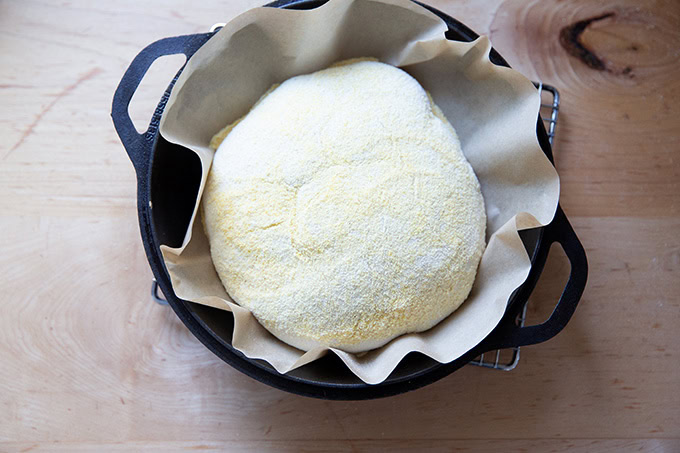
Cover the pot and transfer to the oven for 30 minutes. Then remove the lid:
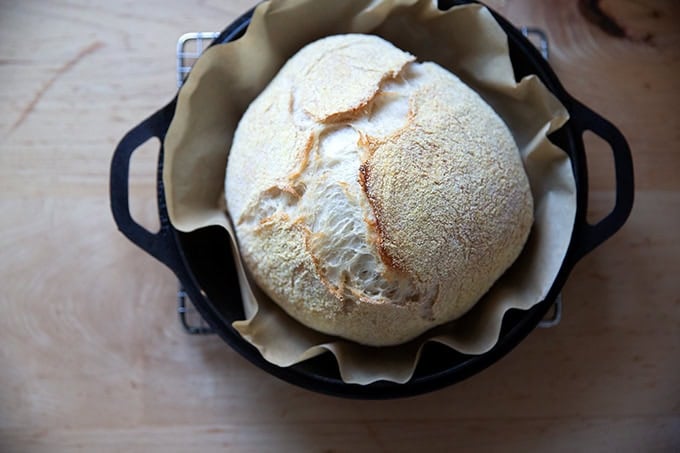
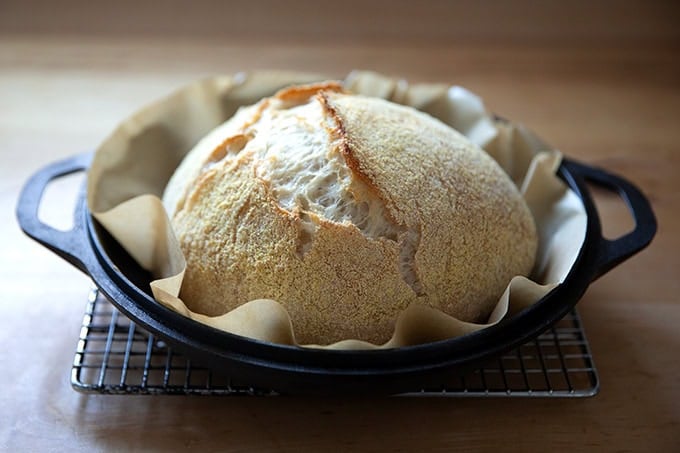
Return the pan to the oven for another 15 minutes or until browned to your liking:
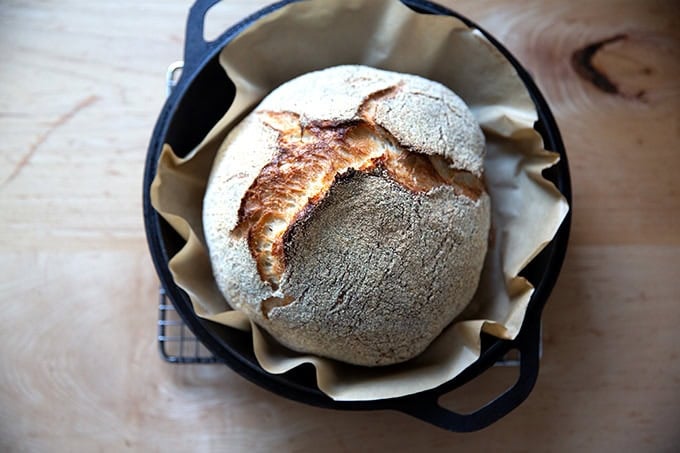
Transfer bread to a cooling rack and let cool for at least 30 minutes before slicing.
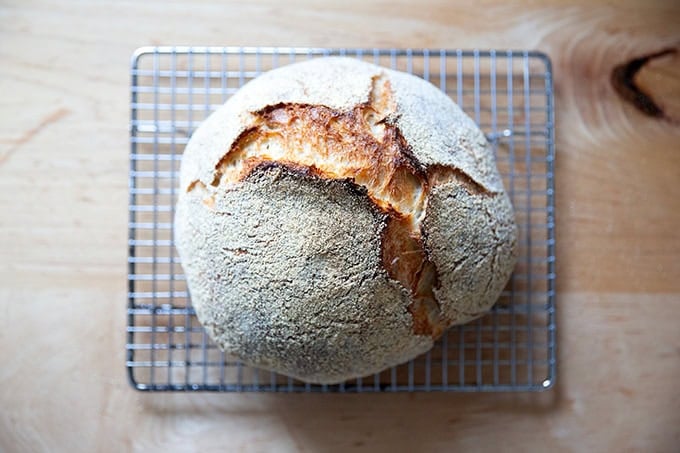
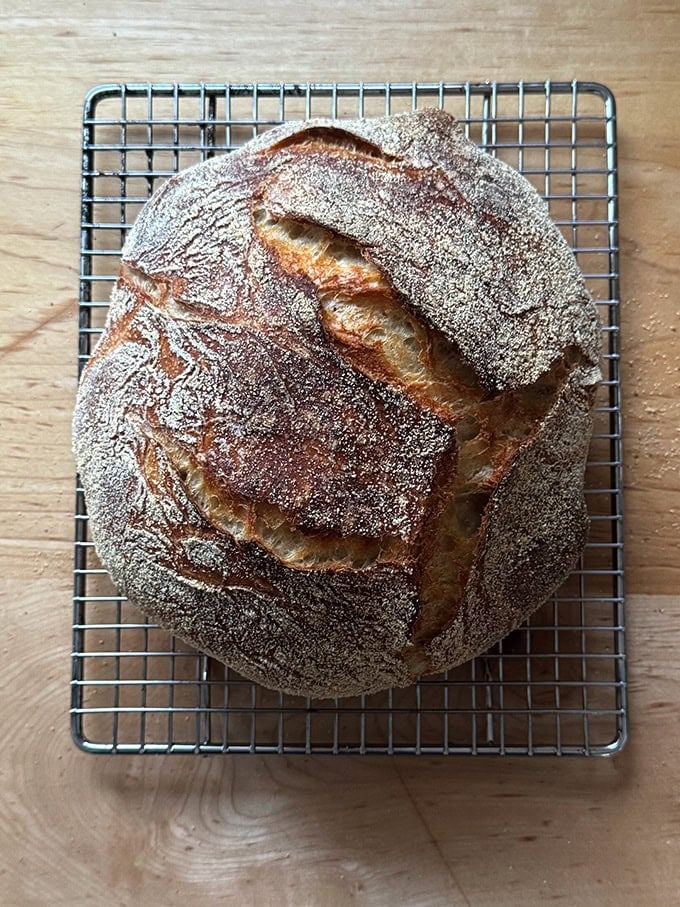
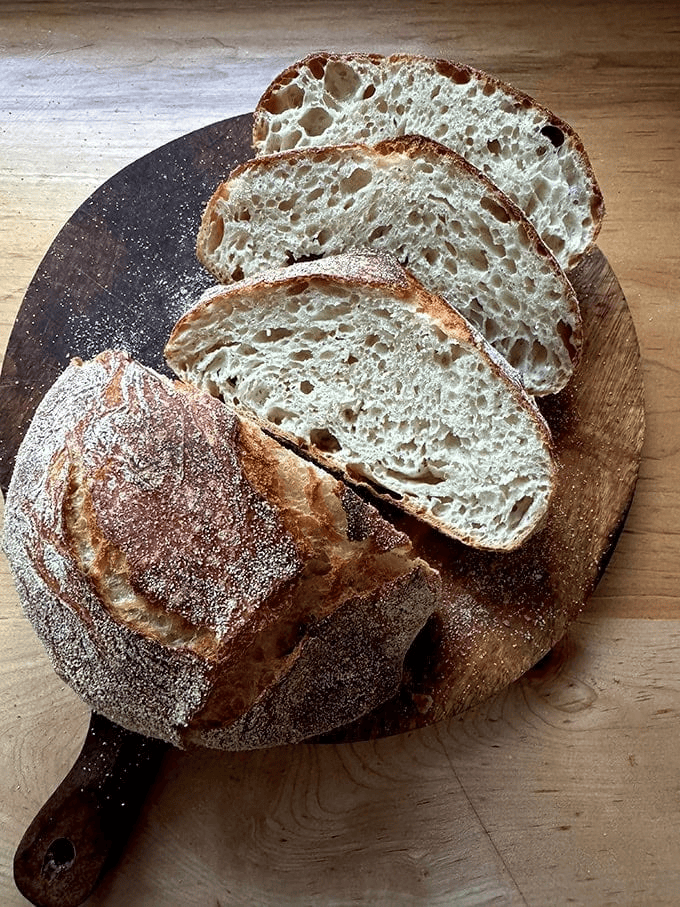
Look at that light airy crumb:
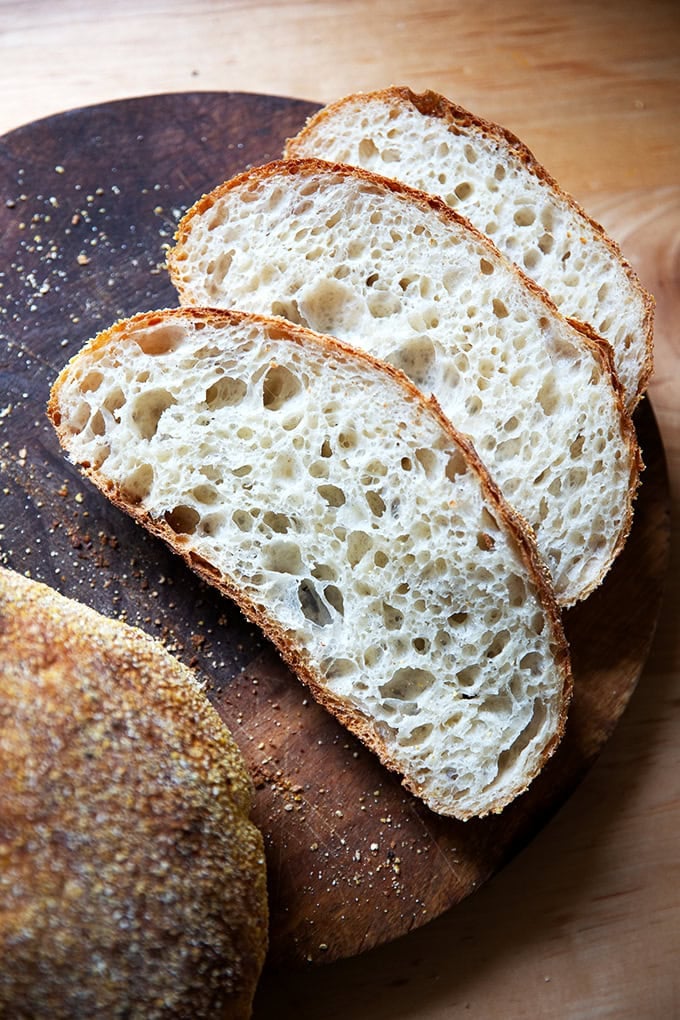
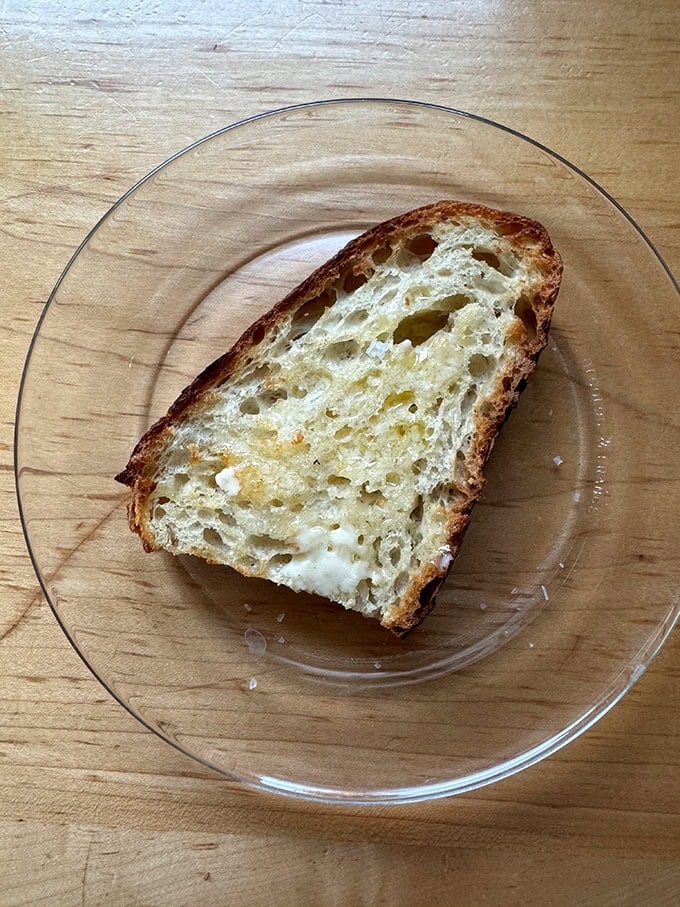
The no-knead loaf will feed a crowd but should you find yourself with leftovers, it makes delicious toast and freezes beautifully:
Jim Lahey’s No-Knead Bread
- Total Time: 22 hours
- Yield: 1 loaf 1x
Description
Crusty, airy, bakery-style bread in your home kitchen? Yes. You. Can. This dough takes 5 minutes to stir together, and from there, time does the work. If you love a rustic boule for dipping in your soup or toasting and slathering with butter and jam for breakfast, this recipe is for you.
Adapted from Mark Bittman’s “The Minimalist” column in The New York Times: Dining In November 8, 2006 / Recipe from Jim Lahey
Notes:
Flour/Salt: I’ve adjusted the recipe by adding a touch more salt than suggested in the article and converting the recipe to grams. The key here is to use roughly an 80% hydration dough, so regardless of how much flour you use, be sure the water amount is roughly 80% the amount of flour. Similarly, the salt should be roughly 2 to 3 % the weight of the flour, which for this recipe is 7 to 11 grams.
Time: Be sure to read the recipe through entirely before endeavoring to make this bread: you need 12-18 hours initially in rising time and 2 more hours subsequently for a second rise.
Equipment: You’ll need a lidded vessel to bake this loaf. I use my 5-qt Lodge Double Dutch Oven for this one. Parchment paper is helpful as well for transferring the dough from the towel to the preheated Dutch oven.
Ingredients
- 385 grams (about 3 cups) bread flour, plus more for dusting
- 1 gram (¼ teaspoon) instant yeast
- 11 grams (about 2 teaspoons) kosher salt
- 308 grams (about 1 5/8 cups) water
- Cornmeal, wheat bran, or oat bran as needed
Instructions
- In a large bowl, combine the flour, yeast, and salt. Add the water, and stir until blended. The dough will be sticky. Cover the bowl with plastic wrap and let rest for 12-18 hours at room temperature. (Note: Optional Step: If time permits, 15 to 20 minutes after you cover the bowl, perform one set of stretches and folds: simply grab an edge of the dough using a wet hand and stretch it up and in. Repeat this 8 to 10 times, grabbing a different edge each time. I find performing a set of stretches and folds gives my dough the teensiest bit more strength and ultimately a bit more loft. See photos in the post above.)
- After the 12 to 18 hours, or when the surface of the dough is dotted with bubbles, lightly flour a work surface and place the dough on it. Sprinkle a little more flour on the dough and fold it over on itself once or twice. Cover loosely with plastic wrap and let rest for about 15 minutes.
- Meanwhile, lay a clean kitchen towel (not terry cloth) on a counter or tabletop in a draft-free area. Generously coat it with cornmeal, wheat bran, oat bran, or any combination of the three. After the 15 minutes, using as much flour as necessary to keep the dough from sticking to your fingers and the work surface, quickly shape the dough into a ball and place seam side down in the center of the prepared towel. Dust with more cornmeal, wheat bran, or oat bran. If the towel is large enough, fold the sides up over the bread so that it is completely covered. Otherwise, cover it with another towel. Let rise for another 2 hours. (I like to set my towel-wrapped dough into a bowl or banneton to provide a little more support during these 2 hours.)
- Forty-five minutes before the dough is ready, preheat the oven to 450°F. Place a 6- to 8-quart heavy-covered pot (I use this Lodge Double Dutch Oven) in the oven while it heats. When the dough is ready, carefully remove the pot from the oven. Slide your hand under the towel and turn the dough over into the pot, seam side up. This is tricky — I find that parchment paper helps: open your towel, lay a sheet of parchment paper over the dough, place your hand on the parchment paper and carefully flip the dough over so that the seam side is up and the dough is resting on the parchment paper. Use the overhanging parts of the parchment paper as handles, then lay the bread, parchment paper and all, into the Dutch oven.
- Cover with the lid and bake for 30 minutes. Remove the lid and bake for another 10 to 15 minutes or until it sounds hollow when tapped. Remove from oven, and turn out onto a cooling rack.
- Prep Time: 5 minutes
- Cook Time: 45 minutes
- Category: Bread
- Method: Dutch Oven
- Cuisine: American
This post may contain affiliate links. Please read my disclosure policy.






217 Comments on “Jim Lahey’s No-Knead Bread”
I love your peasant bread and I’m excited to make this today! Usually my Dutch oven loafs come out flatter than I’d like. Any tips on how to get them as round as possible? Do I need to knead more?
Hi Raquel! Apologies for the delay here. Free-standing loaves do tend to “pancake out” for a few reasons, namely if not enough gluten has developed during the first rise and/or if not enough tension is built during the shaping process. For this recipe, the gluten development happens over the 18-hour rise as opposed to kneading. I have added a set of stretches and folds to the initial recipe to help build up the gluten. Using bread flour also helps with this sort of free-standing loaf. Finally, it’s possible you need to create more tension when you are shaping the dough into a boule, just before the final 2-3 hour rise. This takes a little practice — the video may offer some guidance.